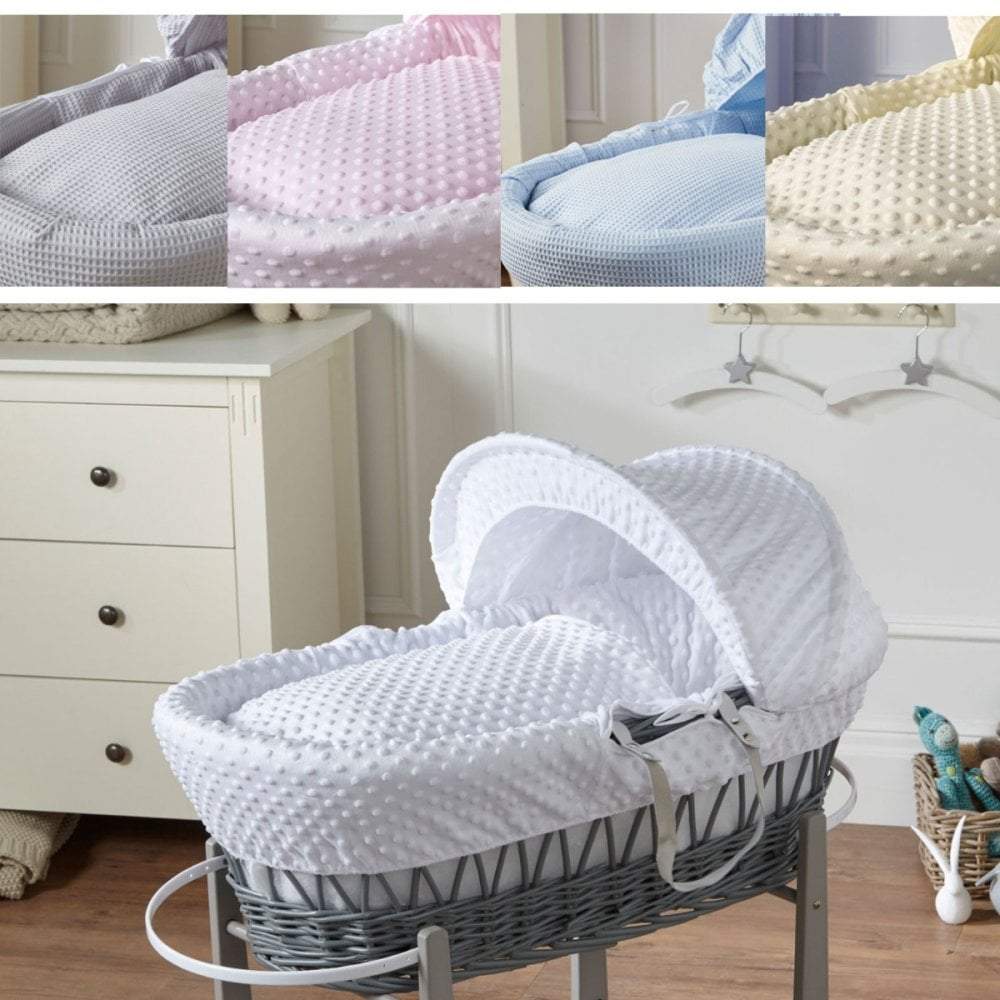
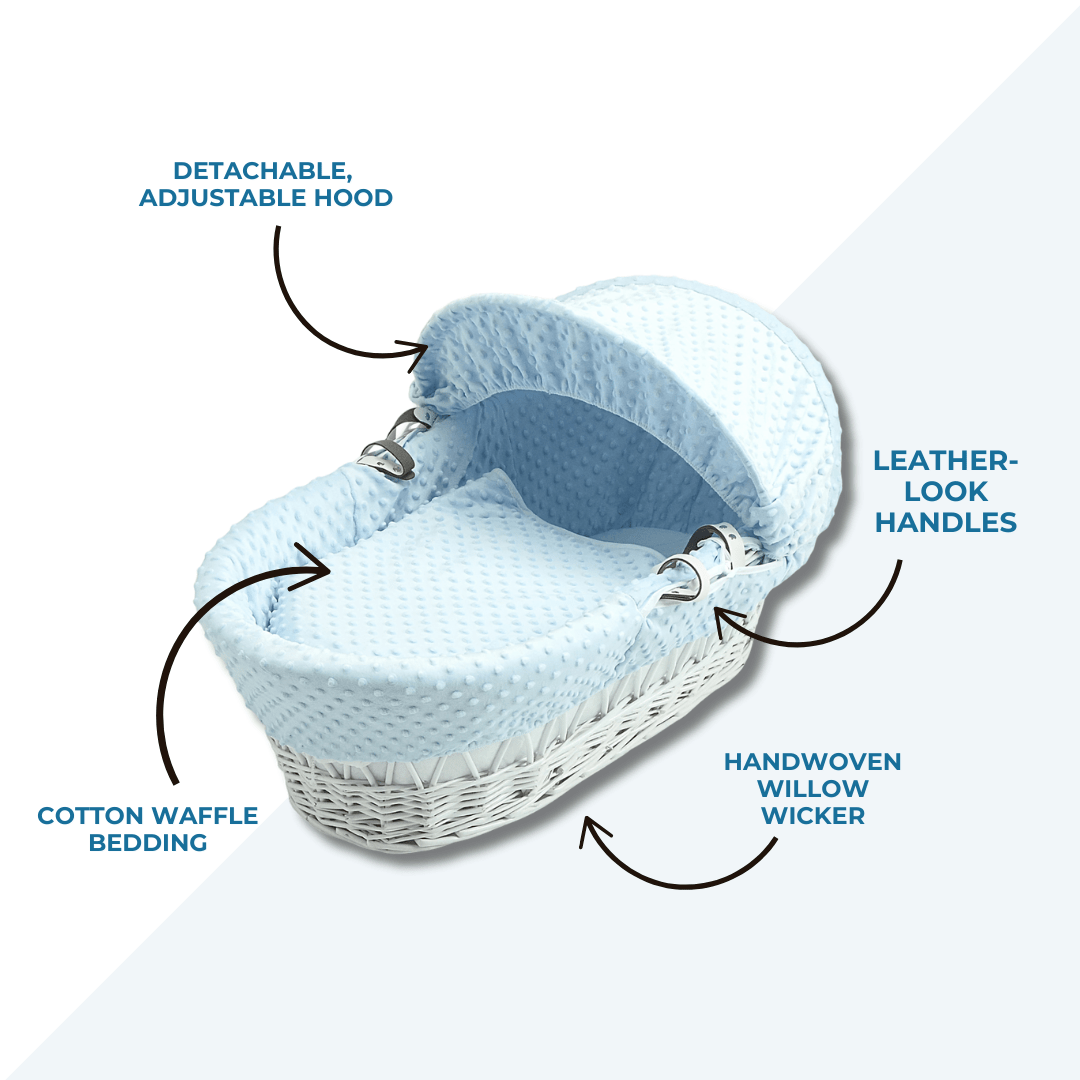
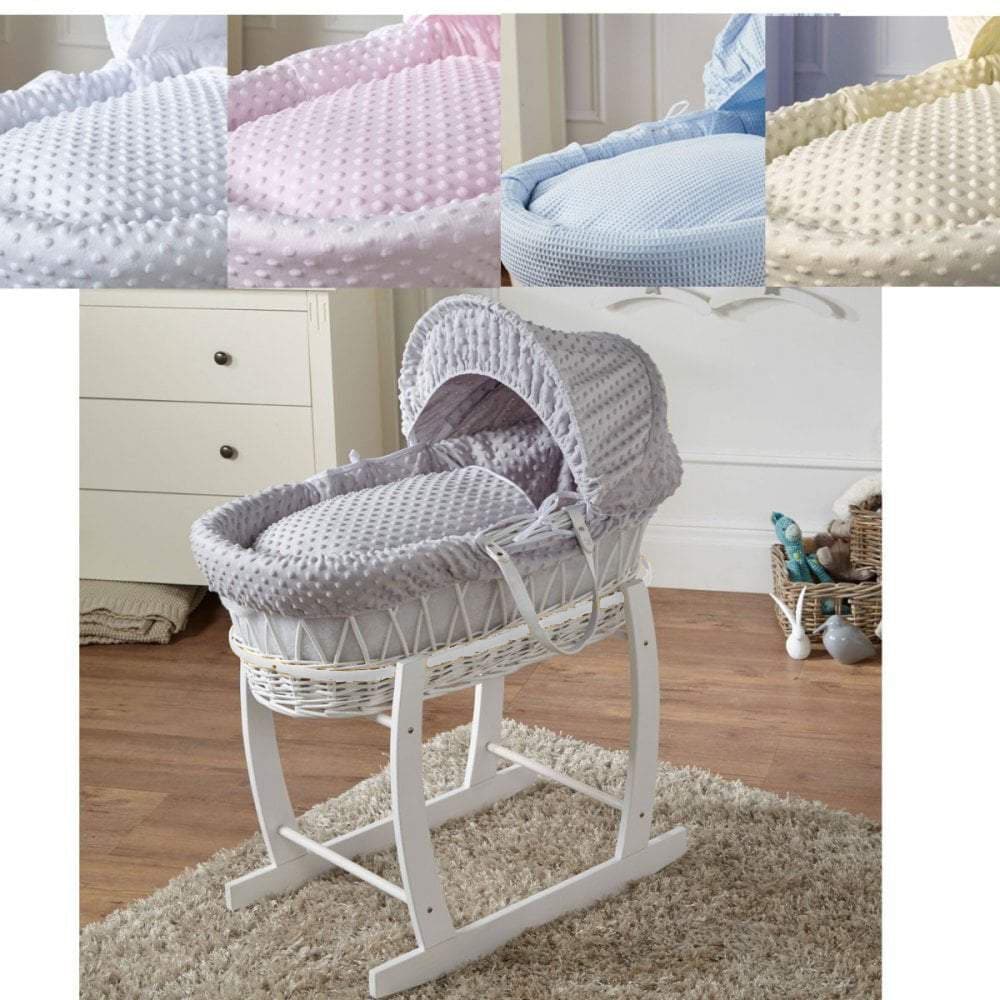
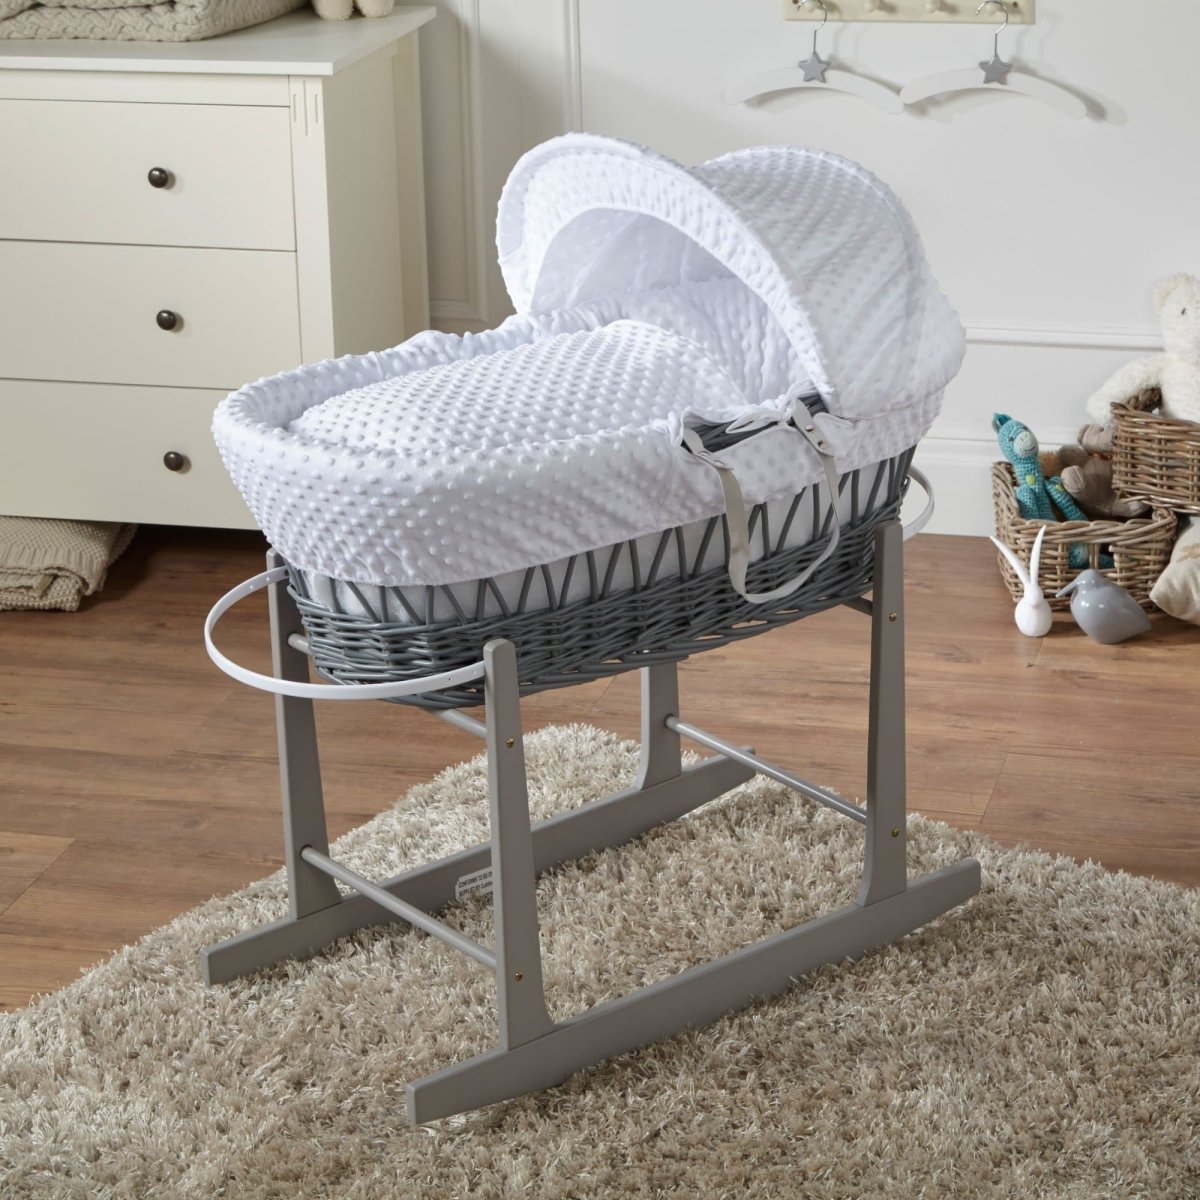
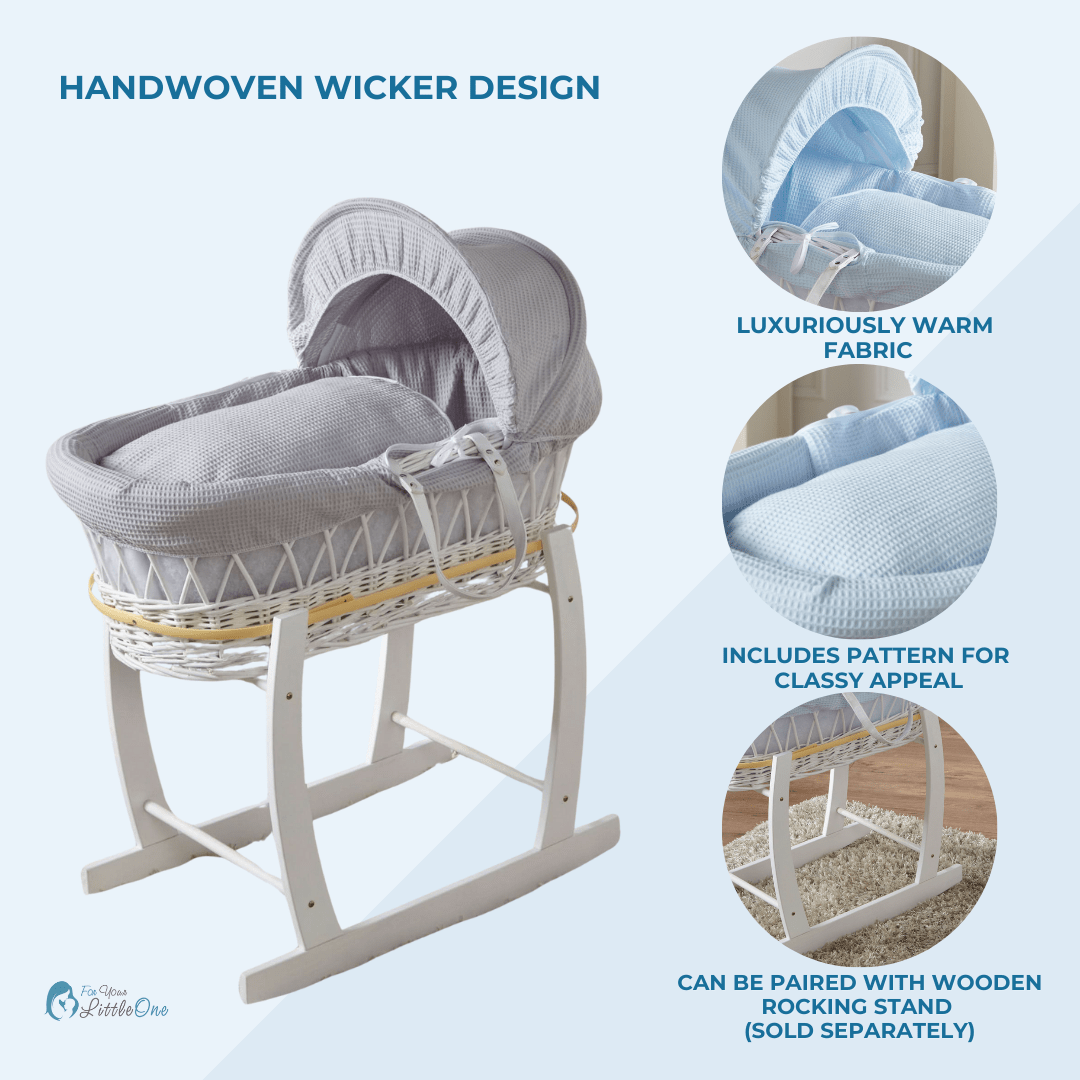
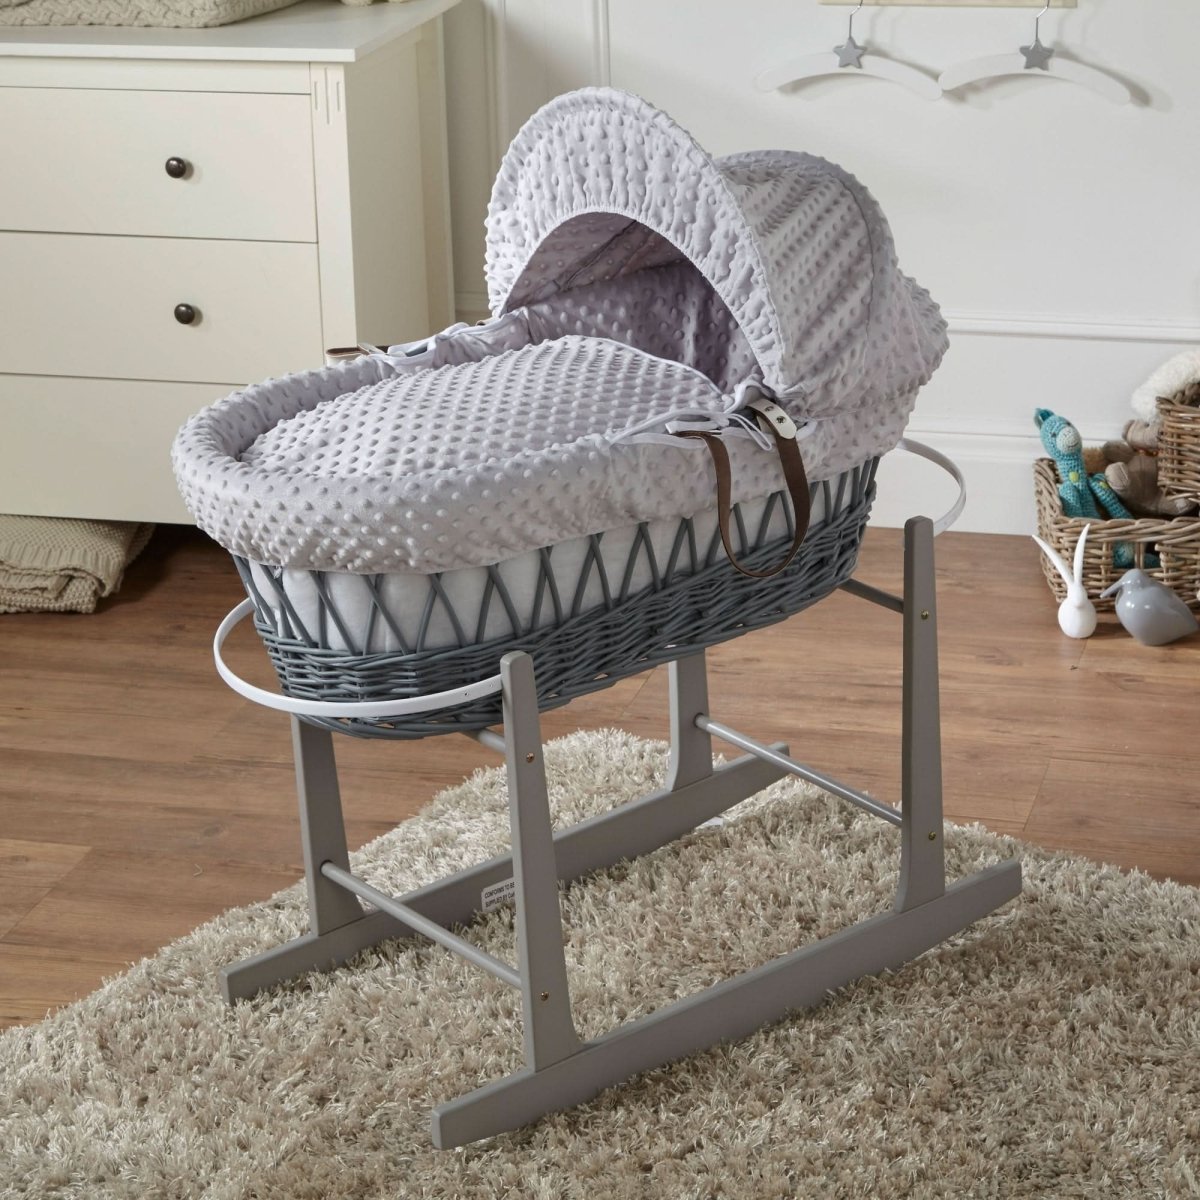
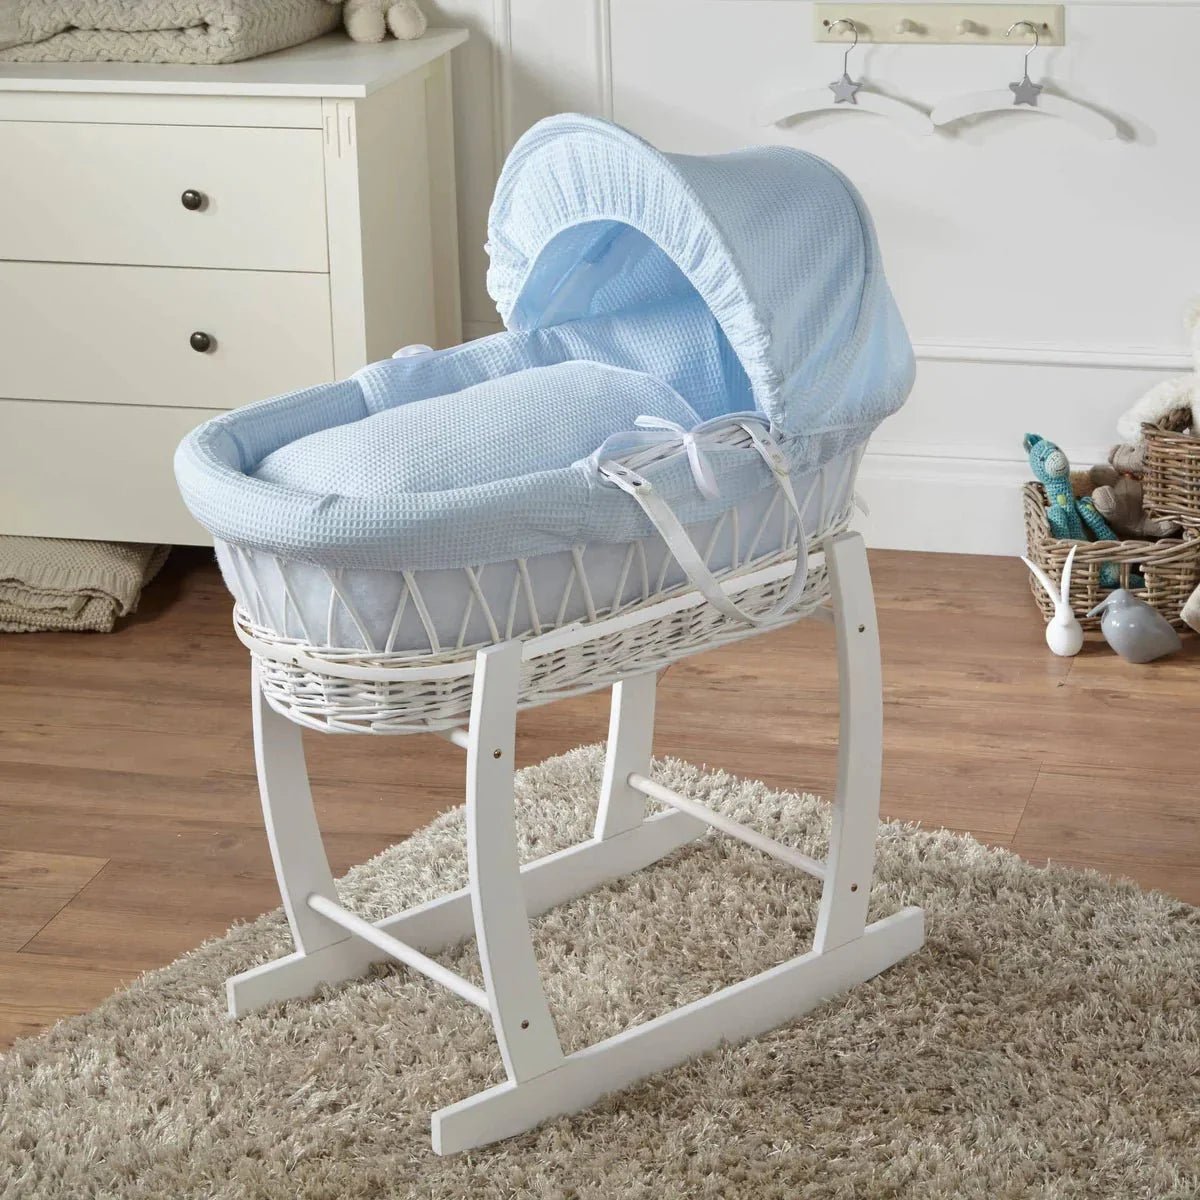
Are you looking to create a beautiful and cozy space for your little one? A Moses basket can be the perfect addition to your nursery, providing a safe and comfortable spot for your baby to sleep or rest. But why buy one when you can make your own? In this step-by-step tutorial, we will guide you through the process of creating your very own Moses basket.
Whether you're a seasoned DIY enthusiast or a beginner, this guide is designed to help you create a stunning Moses basket that meets your style and budget. We'll walk you through selecting the right materials, creating the base and sides, and finishing it off with soft bedding and handles. Our easy-to-follow instructions and detailed photos will ensure you have a successful and satisfying DIY experience.
Not only will making your own Moses basket save you money, but it also allows you to add a personal touch to your nursery. So let's get started and create a beautiful sanctuary for your little one to drift off to sleep in comfort and style.
Materials and tools needed for making a Moses basket
Making your own Moses basket offers several advantages over buying one. Firstly, it allows you to customize the design and materials to match your style and preferences. You can choose from a variety of fabrics, colors, and patterns to create a unique and personalized basket. Additionally, making your own Moses basket can be a cost-effective option, as store-bought baskets can often be quite expensive.
Not only is making a Moses basket a fun and rewarding DIY project, but it also allows you to create a special heirloom piece that can be passed down through generations. Imagine the joy of telling your child that they slept in a basket lovingly made by their parent or grandparent. So, let's gather the materials and tools needed to get started on your homemade Moses basket.
Step 1: Choosing the right base for your Moses basket
Before we dive into the step-by-step process of making a Moses basket, let's gather all the necessary materials and tools. Here's a comprehensive list of what you'll need:
1. A sturdy base: This can be a wooden board or a wicker base specifically designed for Moses baskets. Make sure it is the appropriate size for your desired basket dimensions.
2. Wicker or rattan strips: These will be used to weave the sides of the basket. You can purchase them online or at your local craft store.
3. Scissors: A pair of sharp scissors will be needed for cutting the wicker strips to the desired lengths.
4. Tape measure: This will help you measure and cut the wicker strips accurately.
5. Clothespins or clamps: These will be useful for holding the wicker strips in place as you weave them.
6. Strong thread or twine: This will be used to secure the wicker strips to the base and each other.
7. Sewing needle: A large needle with a sharp point will be needed for sewing and attaching the handles.
8. Fabric for lining: Choose a soft and breathable fabric for lining the inside of the Moses basket. You can opt for cotton or organic fabrics for the best comfort.
Now that you have all the necessary materials and tools, let's move on to the step-by-step process of creating your very own Moses basket.
Step 2: Preparing the materials for weaving
The first step in making a Moses basket is selecting the right base. You have two options here: a wooden board or a wicker base. If you prefer a more rustic look, a wooden board is a great choice. Make sure to sand it down and treat it with a non-toxic finish to ensure it's safe for your baby.
If you want a more traditional look, a wicker base is the way to go. You can find pre-made wicker bases in various sizes at craft stores or online. Choose a size that suits your needs and matches the dimensions you want for your Moses basket.
Once you have your base, measure and mark the desired dimensions on it. Use a saw or a sharp knife to carefully cut the base to size. Sand down any rough edges to prevent splinters.
Step 3: Weaving the sides of the Moses basket
Before you start weaving the sides of your Moses basket, it's essential to prepare the wicker or rattan strips. Measure and cut the strips to the appropriate lengths, allowing for some extra length for securing them to the base.
Soak the wicker strips in warm water for about 30 minutes to make them more pliable and easier to work with. This step will prevent them from breaking or cracking as you weave them.
While the strips are soaking, take this time to cut the fabric for lining the inside of the basket. Measure the dimensions of the base and sides, and cut the fabric accordingly. Make sure to leave some extra fabric for hemming.
Step 4: Attaching the handles
Once the wicker strips are pliable, it's time to start weaving the sides of your Moses basket. Begin by securing one end of a strip to the base using a clothespin or clamp. This will prevent it from slipping as you weave.
Start weaving the strip over and under the other strips, working your way around the base. Use the clothespins or clamps to hold the strips in place as you weave. Ensure that the tension is even, and the strips are tightly woven together.
Continue weaving until you reach the desired height for your Moses basket. Remember to periodically check and adjust the tension to ensure a sturdy and uniform weave. Once you've completed weaving the sides, secure the end of the strip to the base using strong thread or twine.
Step 5: Adding the finishing touches
Now that the sides of your Moses basket are complete, it's time to attach the handles. Measure and mark the desired locations for the handles on opposite sides of the basket. Make sure they are evenly spaced and securely attached to the woven sides.
Thread a sewing needle with strong thread or twine and sew the handles to the basket. Make several passes to ensure they are securely attached. Trim any excess thread or twine and make sure there are no loose ends that could pose a safety hazard.
Tips for maintaining and caring for your homemade Moses basket
To complete your homemade Moses basket, it's time to add the finishing touches. Start by hemming the fabric lining you cut earlier. Fold over the edges and sew them down using a sewing machine or by hand. Place the lining inside the basket, ensuring it fits snugly and covers the base and sides completely.
Next, add a soft mattress or a padded insert to provide a comfortable sleeping surface for your baby. You can also add additional bedding, such as a cozy blanket or a small pillow, to make the basket even more inviting.
Finally, inspect the basket for any loose ends or rough spots. Trim any excess wicker or thread, and sand down any rough edges to ensure a safe and comfortable sleeping environment for your baby.
Conclusion and final thoughts
To keep your homemade Moses basket in excellent condition, here are a few tips for maintenance and care:
1. Clean the basket regularly: Remove the bedding and fabric lining and wipe down the basket with a damp cloth or mild soap and water. Ensure it's completely dry before placing the bedding back in.
2. Store the basket properly: When not in use, store the Moses basket in a cool, dry place to prevent any damage from moisture or pests.
3. Inspect the basket regularly: Check for any signs of wear and tear, loose threads, or broken wicker. Repair or replace any damaged parts to ensure the basket remains safe and sturdy.
4. Avoid placing the basket on elevated surfaces: To prevent accidents, always place the Moses basket on a stable and flat surface. Never leave your baby unattended in the basket.
By following these simple tips, you can enjoy your homemade Moses basket for years to come.

