

Posted by Editorial Team

Instead of moving your baby’s car seat onto a separate pushchair frame, convert a Doona car seat to stroller mode by unfolding its built-in wheels and setting the handle to the pushing position. You do not connect the Doona to another chassis or add adapters; follow the instructions for your exact model, then check the wheel locks, handle and brake before moving.
TL;DR
- Doona car seat to stroller conversion uses built-in wheels, not a separate pushchair chassis or car seat adapters.
- Match the conversion instructions to your Doona model before operating the release controls.
- Check wheel locking, handle locking and brake operation before pushing.
- Foryourlittleone offers baby essentials for parents comparing car seats and travel systems.
Why this matters
A Doona changes its wheel configuration, not its seat into a different kind of seat. Your baby remains in the infant car seat when you unfold the wheels. Stroller mode does not create a lie-flat carrycot or remove the need for breaks from the car seat.
That distinction matters when planning an outing. A quick transfer from the car is different from choosing somewhere for your baby to sleep after you arrive. Follow NHS safer-sleep advice: move a sleeping baby out of the car seat onto a firm, flat sleep surface when the journey ends.
Foryourlittleone is a baby-essentials retailer for parents comparing car seats, travel systems and nursery equipment. This 2026 guide explains the conversion workflow, the checks that belong between each stage and the reverse process before a car journey.
Before you start
- Identify the model. Read the model label and have the matching Doona user instructions beside you. Doona and Doona i use their own instructions; do not treat a video showing a similar seat as proof that every control works identically.
- Prepare the space. Use a clear, level area away from moving traffic, stairs and the edge of a kerb. Keep fingers, clothing and loose straps away from the folding wheel mechanism. Practise with the seat empty before converting it with your baby inside.
- Separate conversion from installation. If the seat is in a vehicle, release it from its approved installation according to its instructions first. An ISOFIX base secures the seat in the car; it is not a stroller frame and does not unfold the wheels.
The easily missed gotcha: a visible wheel is not necessarily a locked wheel. Do not start pushing just because the wheels have dropped down. Complete the manufacturer’s locking checks before putting weight through the handle.
For a Doona bought or borrowed in 2026, the product label still determines which instructions you need. The purchase date does not identify the model or replace its manual.
Seat preparation
This first stage puts the Doona in a controlled position before you operate the folding mechanism. Keep the seat supported throughout; do not let the unfolding wheels pull it out of your hands.
- Read the conversion section in the matching manual, including its diagrams of the handle positions and wheel-release control.
- If the Doona is installed in a car, remove it using the specified base-release or vehicle-belt procedure. Do not pull against an engaged base or a belt that still passes through the seat’s belt guides.
- Position the handle in the upright carrying position described in the manual. Use the handle-adjustment controls together where the manual requires this, and let the handle lock before lifting.
- Check that nothing is caught beneath the seat or around the folded wheels. If your baby is inside, keep the harness correctly fitted; conversion is not a reason to loosen it.
Expected result: the Doona is free of its vehicle installation, supported by its locked carrying handle and ready for the wheel-release procedure.
The handle has different jobs during carrying, pushing and car installation. Do not choose a position simply because it looks convenient. Use the position specified for the task you are about to perform.
Wheel deployment
The Doona’s wheels unfold from underneath the seat. You are releasing an integrated mechanism, not attaching the car seat to another product.
- Hold the Doona securely in the carrying position shown in its manual.
- Operate the wheel-release control identified in the manufacturer’s conversion diagram. Follow the model’s specified action rather than pulling an unidentified lever.
- Lift and support the seat as instructed so the wheel assembly can unfold without obstruction. Keep hands away from the hinges and folding joints.
- Allow the mechanism to reach its fully open position. Confirm engagement using the visual and physical checks shown in the manual; do not rely on a sound alone.
- Lower the Doona onto a level surface and apply the parking brake using the model’s brake control.
Expected result: the wheel assembly is fully deployed and locked, the seat stands in stroller configuration and the parking brake holds it stationary.
If the assembly stops partway, stop the conversion. Check for trapped fabric or debris without placing your fingers inside a loaded hinge. Never force a wheel assembly that will not lock.
Pushing-handle configuration
Only set the pushing position after the wheels are deployed and the Doona is stable. Leave the parking brake applied while you make the adjustment.
- Use the handle-rotation controls to move the handle into the pushing position specified for your model.
- Operate the handle-extension control and extend the handle as directed in the manual.
- Release the controls and check that the handle has locked. Do not push with a handle that slides, rotates unexpectedly or has not reached its specified position.
- Check your baby’s harness, clothing and posture before releasing the brake. Keep accessories clear of the controls and moving parts.
Expected result: the handle is extended and locked in its pushing position, with the Doona still held by its parking brake.
There are no software settings or on-screen buttons in this workflow. The controls are physical, and their appearance depends on the model. Match each control to the manufacturer’s diagram rather than searching for a colour mentioned in an unrelated tutorial.
Final movement checks
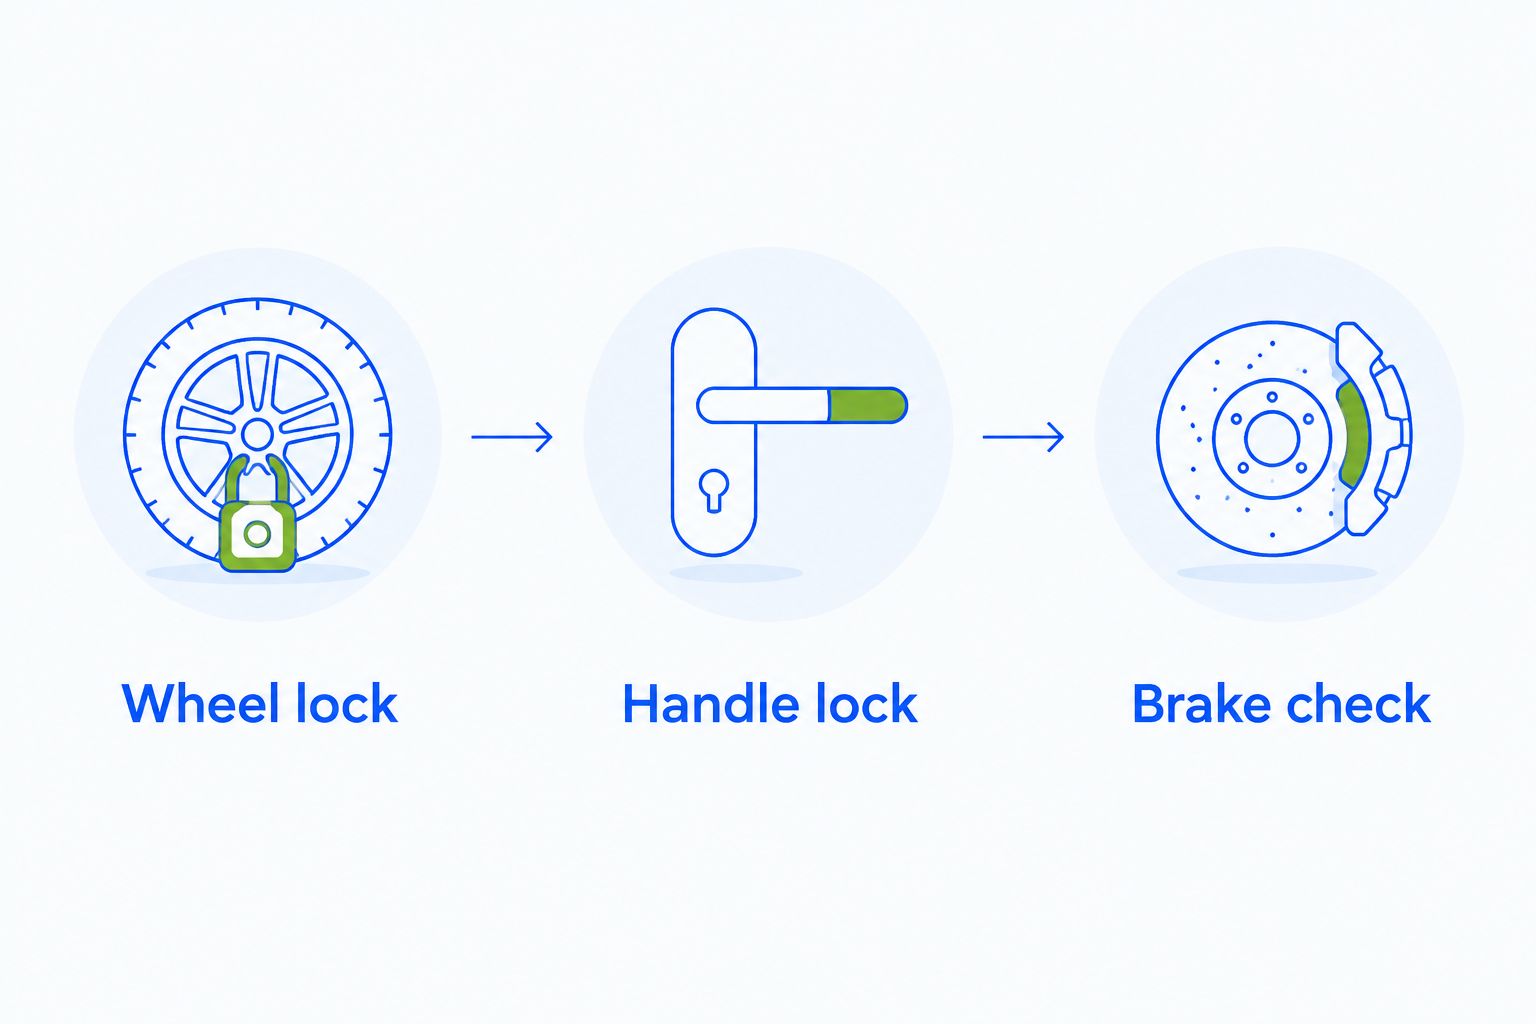
Use these 3 checks whenever you complete a Doona car seat to stroller conversion. They cover different parts of the setup; one successful check does not replace the others.
- Wheel lock: confirm the wheel assembly is fully open and secured according to the manual. Stop if the seat sits unevenly or a folding joint has not engaged.
- Handle lock: gently check that the handle stays in its specified pushing position without an adjustment control being pressed.
- Brake check: confirm the parking brake holds the Doona on the level surface. Release it only when you are ready to move, then check that the wheels roll normally.
Expected result: the Doona remains stationary with its brake applied and moves normally after you release it. Stay beside it throughout these checks.
For your 2026 routine, keep those checks consistent even when you are familiar with the conversion. Familiarity does not remove the need to confirm that moving parts have locked.
Return the Doona to car-seat mode
The reverse workflow folds the wheels before vehicle installation. Folding the wheels and securing the car seat are separate tasks. Completing the first does not prove the second is correct.
- Stop on a clear, level surface and apply the parking brake.
- Retract and reposition the handle as specified in the matching manual’s stroller-to-car-seat instructions.
- Follow the manual’s wheel-folding sequence, including how to support the seat and operate the release mechanism. Keep hands, clothing and straps clear of the joints.
- Confirm that the wheels have folded and the mechanism has reached its specified closed position.
- Carry the seat to the vehicle and install it using the approved method for that Doona model and vehicle seating position.
- Check the installation, any applicable indicators and the required in-car handle position before travelling.
Expected result: the Doona is in its specified car-seat configuration and correctly secured in the vehicle, not merely sitting on a base.
With a base installation, check the base and seat connections as directed. With a vehicle-belt installation, follow the exact belt routing and tensioning instructions. Do not combine parts of different installation methods or assume every base fits every Doona.
Troubleshooting
The wheels stop halfway
Pause and keep the seat supported. Look for an obstruction around the wheel path, such as trapped clothing or an accessory, without reaching into the hinges. Restart only according to the manual; if the mechanism still will not complete its movement, stop using stroller mode and contact Doona support.
The handle will not extend or lock
Check that the handle is in the position required before extension and that you are using the correct adjustment control. Do not pull harder or push with a partly extended handle. A handle that repeatedly fails to lock needs manufacturer advice before further use.
The brake does not hold
Confirm that you have fully engaged the parking-brake control on a level surface. Check for visible debris around the relevant wheel area as permitted by the manual. Do not leave the Doona unattended or use it on a slope to test a doubtful brake. Stop stroller use if it still rolls with the brake correctly applied.
The seat will not release from the car
Identify what is holding it: the vehicle belt or the base connection. Follow that installation’s removal sequence rather than operating the wheel-release control. Do not yank the carrying handle or attempt wheel deployment while the seat remains secured in the vehicle.
The mechanism works, but an accessory gets trapped
Remove the accessory and repeat the checks with the seat empty. Check that the accessory is expressly suitable for your exact model and that its fitting instructions leave the moving parts clear. A description such as universal does not establish Doona compatibility.
Customise your workflow
Build your routine around 4 stages: preparation, wheel deployment, handle configuration and final checks. Practise the whole sequence, including the return to car-seat mode, before your first outing. The useful habit is a repeatable check, not a faster conversion.
For 2026 buying decisions, compare the type of system before comparing individual products. An integrated car-seat stroller and a separate-frame travel system solve the transfer problem differently; neither replaces a suitable sleep space.
| Option | Best for | Practical advantage | Limitation or check |
|---|---|---|---|
| Your existing Doona | Parents wanting to use its built-in conversion | No separate stroller chassis to attach during conversion | Stroller mode remains an infant car seat, not a carrycot |
| For Your Little One Qubi Infant Car Seat Stroller – Grey Olive | Parents comparing the infant car-seat stroller category | A relevant product type to examine alongside an integrated workflow | Check its own instructions, child limits and conversion method; do not apply Doona instructions |
| For Your Little One Cruise 3-in-1 Travel System with i-Size Car Seat – Black Eclipse | Parents comparing a travel-system package | The listed package names an i-Size car seat | Confirm included components, connection requirements and vehicle compatibility before choosing |
Foryourlittleone’s car-seat and travel-system range gives you different product types to compare. Choose by the documented fit for your baby, vehicle and daily routine, not by the number of functions in the name. Check current product information for included items, delivery and payment options before ordering.
Do not buy adapters to complete a Doona’s built-in wheel conversion. For any other system, use only the connections approved for that exact seat and chassis. Different products need different instructions, even when their purpose sounds similar.
FAQ
How do I change a Doona car seat to stroller mode?
Unfold the Doona’s built-in wheels using the procedure in your model’s manual, then set and lock the pushing handle. Check the wheel assembly, handle and parking brake before moving.
Do I need adapters to connect a Doona to stroller mode?
No adapters are needed for a Doona’s built-in stroller conversion. Its wheels are part of the seat, so you do not attach it to a separate pushchair chassis for this function.
Can I use the same instructions for every Doona model?
Use the instructions supplied for your exact Doona model. Match the product label to the manual before operating wheel-release, handle or vehicle-installation controls.
Does Doona stroller mode turn the seat into a lie-flat pram?
No, deploying the wheels does not turn the infant car seat into a lie-flat carrycot. Move your baby to a suitable firm, flat sleep surface when the journey ends rather than treating stroller mode as a sleep-space conversion.
What should I do if the Doona wheels will not lock?
Stop using stroller mode if the wheel mechanism will not lock. Keep the seat supported, check for visible obstructions as directed in the manual and contact Doona support if the problem continues.
Do I need an ISOFIX base to unfold the Doona wheels?
An ISOFIX base is not needed to operate the built-in wheel conversion. Vehicle installation is a separate task and must use an approved method for your model and vehicle.
What should I compare before buying a car-seat stroller in 2026?
Compare documented child limits, vehicle compatibility, conversion instructions and the items included with the product. Also check whether your daily routine needs a separate carrycot or pushchair seat rather than relying on an infant car seat for every outing.
One last thing
Changing the wheels does not reset your baby’s time in the car seat. Include the car journey and the stroller portion when planning breaks, and follow your model’s guidance and any advice from your healthcare professional.
Before your next outing in 2026, practise the return journey too. Knowing how to fold the wheels is only part of the job; you also need to recognise a correctly secured vehicle installation.
